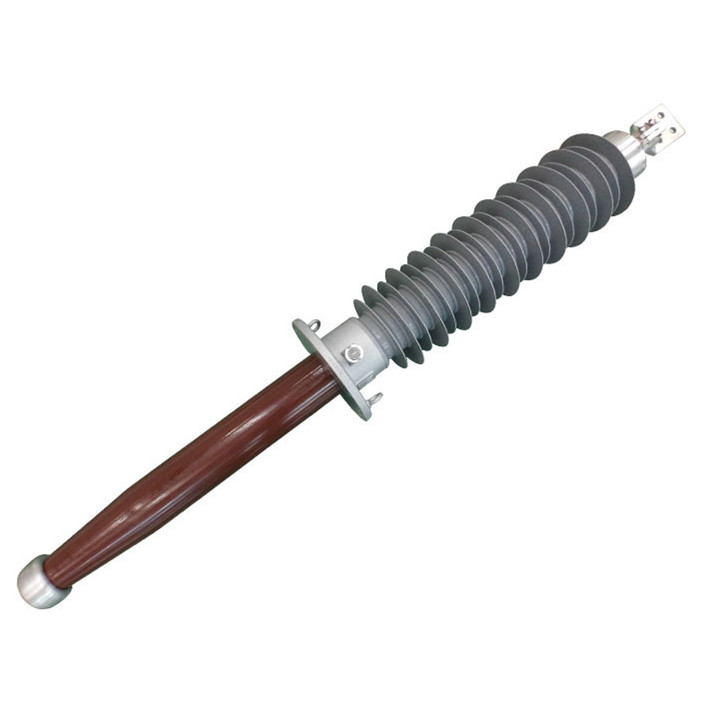


Check an OIP transformer bushing’s oil level against the limits for its exact model, with the bushing in the specified position. Consider temperature, previous readings and signs of leakage before deciding whether the level is abnormal. A reading outside the permitted range, or an unexplained continuing change, needs investigation. Adding or draining oil alone does not establish that the bushing is ready for service.
A normal oil level falls within the permitted range on the bushing’s indicator under the specified checking conditions. The correct reading depends on the bushing design, temperature and position. The middle of the viewing window is not automatically the correct level for every model.
For NJREC’s 72.5–252 kV composite OIP transformer bushings covered here, the normal level is between the marked minimum and maximum positions. When adjustment is required, the target is approximately one-third to two-thirds of the oil gauge. This range applies to these products and should not be extended to other OIP designs without confirmation.
These bushings contain their own sealed insulating oil. Their head-mounted indicator shows the bushing oil level, not the level in the transformer’s main conservator. A normal transformer oil reading therefore does not confirm that the bushing itself contains the correct amount of oil.
Oil expands and contracts as temperature changes. Record the temperature and operating conditions when checking the indicator, so later readings can be compared meaningfully.
Before energizing a new or reinstalled bushing, confirm that its oil indication is readable and within the permitted range. Complete this check after the bushing reaches its specified checking position and settling conditions.
A small oil stain left from factory testing or handling does not, by itself, prove an active leak. Record its location and establish whether fresh oil reappears after approved cleaning. Any unresolved leakage or unexplained low level should be assessed before energization.
During operation, compare readings with earlier observations made under similar conditions. A change associated with temperature is different from a level that repeatedly falls under comparable conditions. A single reading provides limited information; the direction and persistence of the change help guide further checks.
| Observation | What to Check First | Follow-Up |
|---|---|---|
| Oil level below the permitted range | Temperature, recent sampling, oil plugs and visible leakage around seals. | Investigate the loss or abnormal reading before treating topping-up as the solution. |
| Oil level above the permitted range | Recent filling, temperature and whether the checking position is correct. | Confirm the cause and approved correction method before draining oil. |
| Oil indication unclear or apparently unreliable | Visibility, indicator condition and consistency with previous observations. | Arrange verification rather than assuming that an unclear indication means the bushing is empty. |
If the level continues to fall while the exterior remains dry, leakage through the lower seal into the transformer tank is one possible explanation in applicable designs. The absence of an external oil stain is therefore insufficient to rule out leakage. This condition needs technical assessment, not repeated topping-up without diagnosis.
Excessive filling can also cause problems. As oil heats and expands, insufficient expansion space can increase internal pressure and contribute to leakage. However, a high reading should not automatically be attributed to overfilling; check the temperature and maintenance history first.
Observing an oil indicator and opening a bushing are different tasks. Work on oil plugs, sampling valves or seals should be performed by qualified personnel after isolation, verification of absence of voltage and grounding. Never loosen a filling plug on an energized bushing or one containing hot, pressurized oil.
Routine inspection does not automatically require taking an oil sample. For these NJREC composite OIP bushings, unnecessary sampling should be avoided when operation and dielectric-loss results remain normal. Unexplained oil loss or other abnormal findings may justify further investigation, including appropriate OIP bushing inspections and electrical tests.
When sampling or adjustment is required, keep the opening and surrounding surfaces clean and dry. Use clean, dry equipment, minimize the time the opening remains exposed, and restore the original sealing arrangement. Any replacement oil must meet the specified requirements and be compatible with the existing fill.
After maintenance, confirm the oil level and sealing condition again. Record what was done and how much oil was removed or added. If the level becomes abnormal again, investigate the underlying cause rather than repeatedly correcting the indication.
A useful oil-level check combines the reading with its context: the exact model, temperature, previous observations and evidence of leakage. For technical questions about NJREC OIP capacitive bushings, provide the model, serial number, clear indicator photographs and recent operating or maintenance records. These details help establish the next appropriate check.